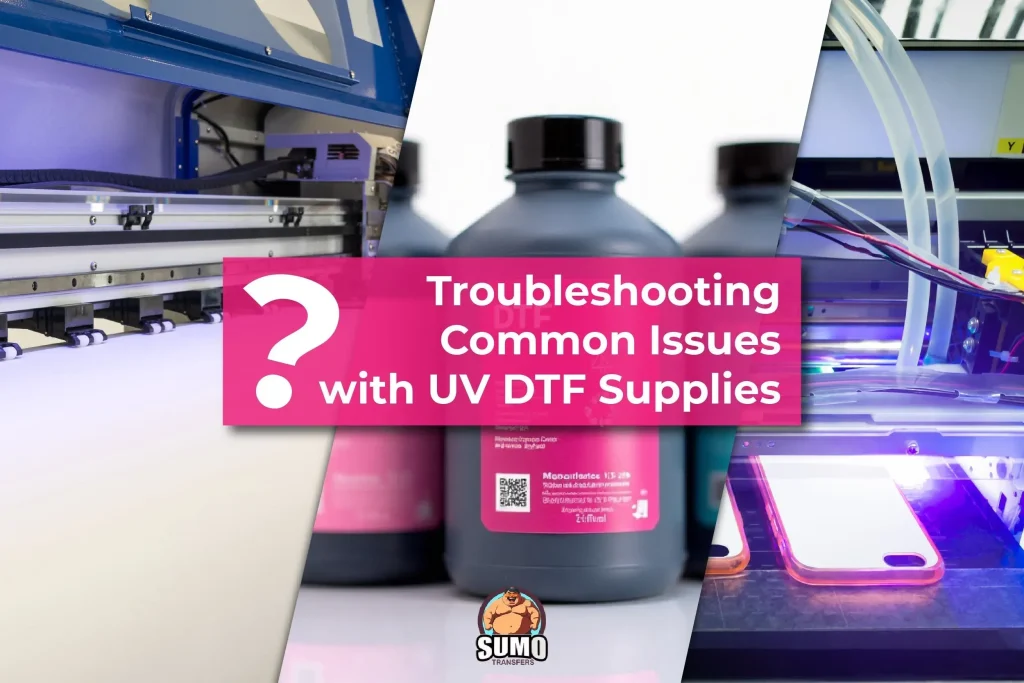
UV DTF transfer troubleshooting is essential for achieving durable, vibrant graphics on fabrics and guides you through common challenges. By combining UV-curable inks with the DTF workflow, designers can understand where color accuracy and adhesion may fail, aligning with DTF transfer issues and fixes. This introductory guide highlights practical checks, including curing, powder adhesion, and press settings, to prevent fading, peeling, and edge lift. As part of the optimization, consider referencing the UV DTF transfer problems and DTF transfer troubleshooting guide to build reliable presets for different fabrics. Understanding these fundamentals also supports smoother workflows, faster production, and consistent results with DTF heat press troubleshooting when needed.
Seen through an LSI lens, the topic can be phrased with related terms such as UV DTF transfer issues and fixes, and UV DTF printing troubleshooting. Other terms like DTF transfer problems, DTF print troubleshooting, and DTF heat press troubleshooting broaden the semantic field while keeping the core idea intact. Focusing on color fidelity, adhesive performance, and post-press durability, this approach yields practical tips without redundancy. Mapping these terms helps capture user intent across searches and supports a more robust, user-friendly resource.
1) UV DTF transfer troubleshooting: Foundations for durable results
Understanding UV DTF transfer troubleshooting starts with recognizing that success hinges on color accuracy, reliable adhesion, and proper curing. By integrating UV-curable inks with the DTF workflow, brands can achieve vibrant, durable graphics on a wide range of textiles. In practice, you manage curing, adhesive bonding, and heat pressing to prevent common failure modes outlined in the field as DTF transfer issues and fixes.
Key steps include precise printer calibration and color profiling, ensuring an opaque white underbase when required, and confirming consistent UV curing across the print area. Verifying powder adhesion before pressing helps prevent edge lift and color drift, contributing to more predictable outcomes. This foundation aligns with the core concepts found in the UV DTF transfer troubleshooting approach and related best practices.
2) Common UV DTF transfer problems and practical fixes
This section addresses typical symptoms such as dull colors, fading after washing, peeling edges, sticky residues, ghosting, and uneven opacity. Each symptom is linked to underlying factors in curing, adhesive performance, or fabric interaction, reinforcing the idea of DTF transfer issues and fixes.
Practical fixes include recalibrating color profiles and increasing cure time to achieve a hard, film-like ink finish; confirming powder adhesion is even and fully cured; and adjusting heat press settings. Swatch testing and fabric-specific trials are recommended to prevent recurring problems, echoing guidance from the DTF transfer troubleshooting guide and related UV DTF transfer problem resources.
3) Achieving consistent color and opacity on dark fabrics
On dark garments, achieving solid opacity starts with a robust white underbase, accurate color profiles, and even ink laydown. Gaps in underbase opacity or uneven curing can allow the fabric color to show through, compromising vibrancy and legibility.
Utilize printer calibration and ICC-based profiling, run test swatches on similar dark fabrics, and adjust the press to deliver sufficient adhesion without scorching. Incorporating DTF print troubleshooting techniques and referencing the DTF transfer troubleshooting guide helps maintain consistent opacity across the design.
4) Optimizing curing and adhesion for long-lasting UV DTF transfers
Durability hinges on curing. Optimizing lamp intensity, distance, and cure duration yields a hard, film-like layer that resists washing and heavy handling. Inadequate curing manifests as color bleed, poor adhesion, and tacky surfaces that degrade over time.
Ensure powder adhesion is evenly distributed and fully cured, and use proper heat-press contact with protective layers like teflon sheets or pressing pillows to avoid uneven outcomes. This area directly relates to DTF heat press troubleshooting and broader strategies found in the UV DTF transfer troubleshooting guide.
5) Fabric and substrate considerations for UV DTF transfers
Different fabrics react uniquely to heat, moisture, and adhesive chemistry. Polyester, cotton, blends, and treated textiles require tailored temperature, pressure, and dwell settings to avoid adhesion failures or color distortion.
Always pre-test with fabric swatches and adjust curing distance and adhesive choices for each material. This aligns with UV DTF transfer problems discussions and the broader scope of DTF transfer troubleshooting guidance, ensuring reliable results across diverse substrates.
6) Testing, validation, and preventive maintenance to minimize issues
A disciplined testing program reduces downtime and waste. Start with control tests on representative garments, verify curing and adhesive steps, and confirm color stability across repeated prints. Documentation of results helps identify which variables most influence quality.
Maintain equipment meticulously, keep a reference library of fabric-specific settings, and continuously validate new ink lots, media, or film. Following a formal DTF transfer troubleshooting guide approach supports proactive prevention of UV DTF transfer issues and keeps production smooth.
Frequently Asked Questions
What is UV DTF transfer troubleshooting and when should you start using it?
UV DTF transfer troubleshooting is a systematic approach to diagnosing and fixing issues that affect color, adhesion, and durability in UV-curable DTF transfers. Start using it whenever you notice dull color, edge lifting, tackiness, or poor washfastness, and apply it at both the design and production stages.
What are the most common DTF transfer issues and fixes you’ll encounter in UV DTF transfer troubleshooting?
Common issues include dull or misregistered colors, fading after washes, peeling or edge lift, sticky residue, ghosting, inconsistent opacity, film wrinkles, and fabric-dependent adhesion. Fixes include recalibrating the printer and updating ICC profiles, ensuring a fully cured white underbase, confirming adequate UV curing time and dosage, verifying even adhesive powder application and cure, adjusting heat press time/temperature/pressure, using proper release film and press aids, and performing fabric-specific test swatches.
How can UV DTF transfer problems be diagnosed and resolved during curing, adhesion, and pressing?
Diagnose by symptom clusters. Start with curing: ensure UV lamps deliver consistent intensity, at the right distance, for the recommended duration until the ink is hard. Then inspect the adhesive powder: even coverage and complete curing before pressing. Finally verify press settings (temperature, time, pressure) and ensure even contact; if issues persist, test on a swatch and adjust.
What is a practical DTF print troubleshooting workflow for UV DTF transfers?
A practical workflow: 1) run a control test on scrap; 2) verify ICC profile and color accuracy; 3) confirm curing; 4) inspect adhesive; 5) test transfer on fabric; 6) adjust heat/pressure; 7) perform post-press cure if needed.
What does a DTF transfer troubleshooting guide recommend for optimizing DTF heat press settings?
DTF heat press troubleshooting guidance: calibrate temperature to the fabric, ensure adequate pressure (psf or psi), set dwell time per material, use a non-stick sheet or teflon to prevent scorch, consider pillow/hilting for curved surfaces, avoid over-pressing.
How can you validate UV curing, adhesive bonding, and fabric compatibility when UV DTF transfer troubleshooting across fabrics?
Use test swatches for each fabric type; verify curing: hard, film-like finish; check adhesive bonding: powder fully cured and set; test wash for durability; keep a fabric-specific settings sheet; if changes, run a mini trial. This approach follows the DTF transfer troubleshooting guide and DTF heat press troubleshooting guidance.
| Topic | Symptoms | Likely Causes | Fixes / Actions |
|---|---|---|---|
| Colors look dull or misregistered | Muted reds/greens/blues; color drift; misalignment | Inadequate printer calibration or color profiling; improper underbase for dark fabrics; insufficient UV curing causing pigment bleed | Recalibrate printer; update/create ICC profile; ensure opaque white underbase; verify UV lamp intensity and cure full time; run multi-swatch calibration print |
| Fading or color wash after washing | Colors fade quickly after a few washes, especially on lighter garments | Incomplete curing of UV inks or insufficient bonding of the adhesive during the transfer | Increase curing time or adjust distance; ensure adhesive adheres properly and press long enough with proper pressure; use dye-fast wash test swatch to validate durability |
| Peeling, cracking, or edge lift after transfer | Transfer peels away from edges or cracks across the design | Inadequate heat press time, incorrect temperature, or insufficient pressure; fabric stretch causing tension release; or powder not fully cured | Re-check heat press settings (temperature, time, and pressure); use pressing pillow or teflon sheet for even contact; ensure powder adhesive is evenly cured; extend press time by 2–5 seconds for heavy blends; test on a sample |
| Sticky residue or transfer appears tacky on the fabric | Surface feels sticky even after cooling | Under-curing of the UV ink, excess adhesive moisture, or residual uncured film | Ensure curing is fully hard; clean transfer film area; allow extra dwell or a short second cure; ensure garment is dry and not steamed; re-run a short post-cure on scrap if needed |
| Ghosting or faint images on the reverse side | A faint version of the design transfers to the backside | Excessive heat or pressure causing adhesive bleed-through; improper separation of film from backing; transfer stock with low release properties | Reduce pressure/time slightly; verify release properties; use non-stick cover sheet; ensure ventilation and humidity control during curing and pressing; keep garment flat and clamped |
| Inconsistent opacity on dark fabrics | Some parts of the print are more translucent | Uneven ink deposition; insufficient white underbase; uneven curing across print | Calibrate printer precisely; cure white underbase fully; check powder application for even coverage; avoid clumps; print a test swatch on dark background to verify opacity |
| Film wrinkles or voids after transfer | Delamination or bubble-like pockets under the design | Uneven heat transfer; moisture in fabric; insufficient curing of the film | Dry garment before pressing; use proper heat settings to avoid rapid moisture release; ensure film is aligned and not stretched; confirm curing yields smooth, tack-free surface |
| Adhesive not sticking well on certain fabrics | Transfer looks fine on one fabric type but fails on another | Fabric composition, moisture content, or temperature sensitivity | Adjust heat, pressure, and time for each fabric; pre-test swatches; use fabric-specific settings; confirm adhesive powder compatibility with textile blend |
| Troubleshooting flow for UV DTF transfers | N/A | N/A | Start with a control test on scrap garments; verify curing (lamp intensity, distance, duration); inspect adhesive process; confirm transfer settings; validate substrate; observe aftercare |
| Practical tips to prevent UV DTF transfer issues | N/A | N/A | Invest in reliable curing; calibrate printers and profiles regularly; use quality transfer film and adhesive; perform routine maintenance; maintain stable environmental conditions; document fabric-specific settings |
| Common mistakes to avoid | Rushing curing or pressing; skipping test swatches; not accounting for fabric variability; overcrowding the transfer | N/A | Take time for proper curing and pressing; always test on representative fabrics; plan fabric-specific presets; avoid overloading ink/adhesive |
Summary
UV DTF transfer troubleshooting is a disciplined approach to diagnosing and fixing common transfer challenges that arise when applying UV-curable DTF designs to fabrics. This descriptive overview covers the interplay between curing, adhesive bonding, transfer film quality, and substrate variability, offering practical guidance to achieve consistent color, adhesion, and durability across a wide range of garments.