The DTF Gangsheet Builder has emerged as an essential tool for digital printing enthusiasts, streamlining the design preparation process like never before. This innovative platform enables users to create stunning print designs efficiently, making it a staple for professionals and hobbyists alike. In this guide, we will walk you through how to use the DTF Gangsheet Builder effectively, covering everything from setting up your layout to exporting your final gang sheet. By mastering this technique, you can enhance your DTF printing projects, optimize material use, and produce vibrant images that stand out. Delve into our comprehensive gangsheet tutorial equipped with effective printing tips to elevate your creative outputs.
Introducing the Direct to Film (DTF) Gangsheet Builder, a revolutionary application that redefines the approach to print design preparation. This powerful tool simplifies the DTF printing process, allowing for the efficient arrangement of multiple designs on a single sheet. Whether you’re looking to maximize the yields of ink or ensure flawless image transfers, utilizing this builder makes it easier than ever. From beginners to seasoned professionals, mastering the gangsheet layout can significantly enhance production efficiency and reduce material waste. Join us as we explore alternative methods and techniques to optimize your digital creation workflows.
The Basics of DTF Printing
DTF printing, or Direct to Film printing, is a revolutionary process that enables high-quality designs to be printed onto various surfaces. It operates by printing designs onto a special film, which is then transferred onto the material using a heat press. This method has gained popularity due to its ability to produce vivid colors and fine details with minimal waste. Understanding the basics of DTF printing is essential for anyone looking to expand their printing capabilities or improve their current practices.
One of the main advantages of DTF printing is its flexibility. It can be used on a wide range of fabrics and materials, making it ideal for custom merchandise, clothing, and promotional items. The process also allows for easy layering of colors, which is especially beneficial for intricate designs that require multiple hues. By mastering DTF printing, print professionals can cater to diverse customer demands and enhance their service offerings.
Frequently Asked Questions
How to use the DTF Gangsheet Builder for best results?
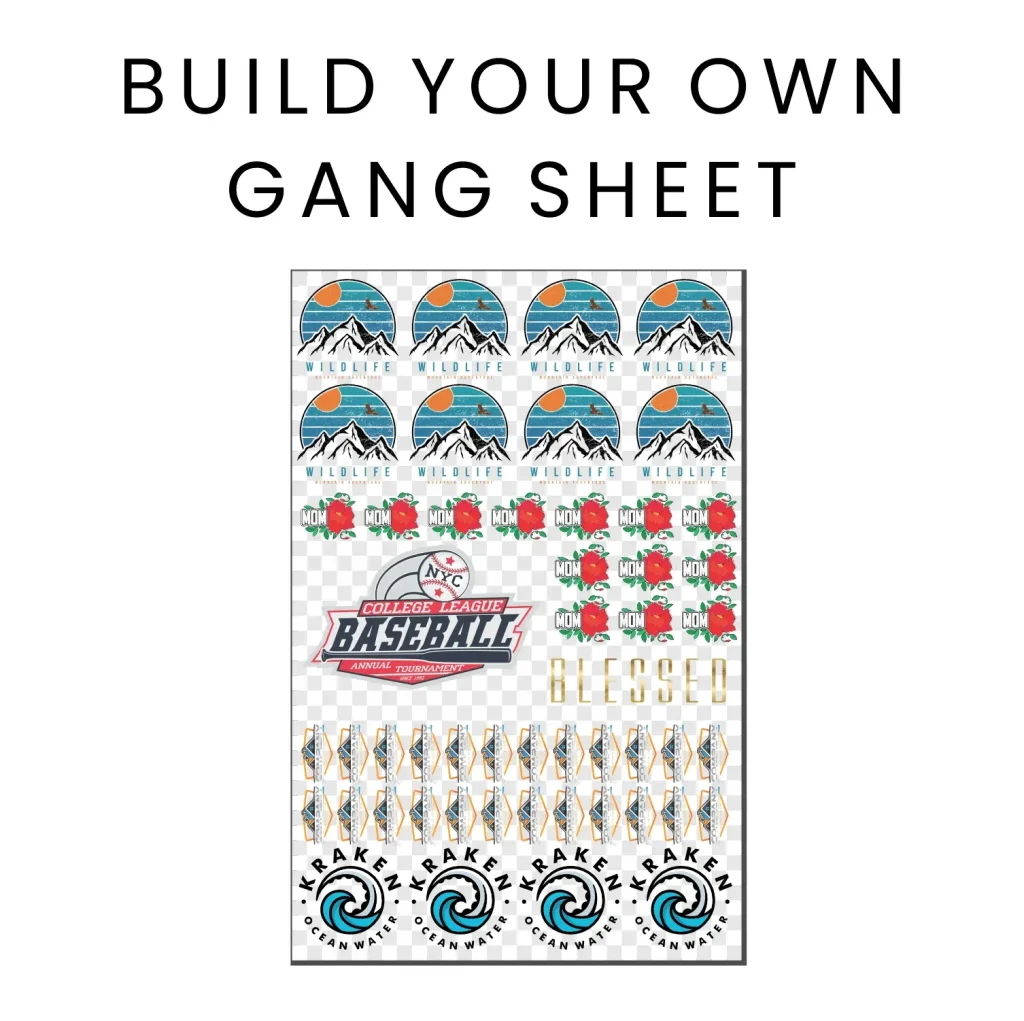
To use the DTF Gangsheet Builder effectively, start by importing high-resolution designs in PNG format. Set the correct size for your gangsheet, arrange the designs using the drag-and-drop feature, adjust print settings, preview your layout, and finally export it in the recommended format for your printer. This method ensures high-quality prints and optimal use of materials.
What is the importance of high-resolution designs in DTF printing with the Gangsheet Builder?
High-resolution designs are crucial in DTF printing because they prevent pixelation, ensuring clarity and vibrancy in the final prints. Using the DTF Gangsheet Builder with high-quality images enhances the transfer quality, resulting in professional-looking products.
Can you provide effective printing tips when using the DTF Gangsheet Builder?
When using the DTF Gangsheet Builder, effective printing tips include using high-resolution images, conducting test prints, staying updated on software improvements, and leveraging online resources for tutorials. These practices help achieve better print quality and efficiency.
What file format is best for designs in the DTF Gangsheet Builder?
The best file format for designs when using the DTF Gangsheet Builder is PNG with a transparent background. This format contributes to clearer, more vibrant prints, making it ideal for DTF printing applications.
How can I arrange designs efficiently in the DTF Gangsheet Builder?
To arrange designs efficiently in the DTF Gangsheet Builder, utilize its drag-and-drop feature to position your images easily. Ensure optimal spacing between designs to maximize the printing area and reduce waste, ultimately enhancing production efficiency.
What common mistakes should I avoid when using the DTF Gangsheet Builder?
Common mistakes to avoid when using the DTF Gangsheet Builder include using low-resolution images, neglecting to preview layouts, and not adjusting settings according to the material. Being mindful of these factors can prevent issues in the printing process and enhance final output.
| Key Points | Details | |
|---|---|---|
| Introduction to DTF Gangsheet Builder | A revolutionary tool for digital printing that simplifies gangsheet creation. | |
| Step 1: Select Your Design | Import high-resolution PNG files with transparent backgrounds for best results. | |
| Step 2: Set Up Size and Layout | Measure print area accurately to avoid cutting off designs during printing. | |
| Step 3: Arrange Designs | Use Drag-and-Drop features for optimal spacing and layout efficiency. | |
| Step 4: Adjust Settings | Set resolution and color mode (CMYK recommended) for quality output. | |
| Step 5: Preview and Finalize | Check for overlaps and distortions before exporting the layout. | |
| Step 6: Export the Gangsheet | Export in formats like TIFF or PDF based on printer specifications. | |
Summary
DTF Gangsheet Builder is essential for navigating the complex world of digital printing with ease. This powerful tool maximizes design potential while minimizing waste, allowing users to create high-quality prints on various materials. By following the outlined steps—selecting designs, setting layouts, arranging images, adjusting settings, previewing, and exporting—users can achieve a polished finish. Maintaining a focus on quality inputs and staying abreast of new updates and techniques enhances the printing process. Embrace the advantages of the DTF Gangsheet Builder to elevate your printing projects today!